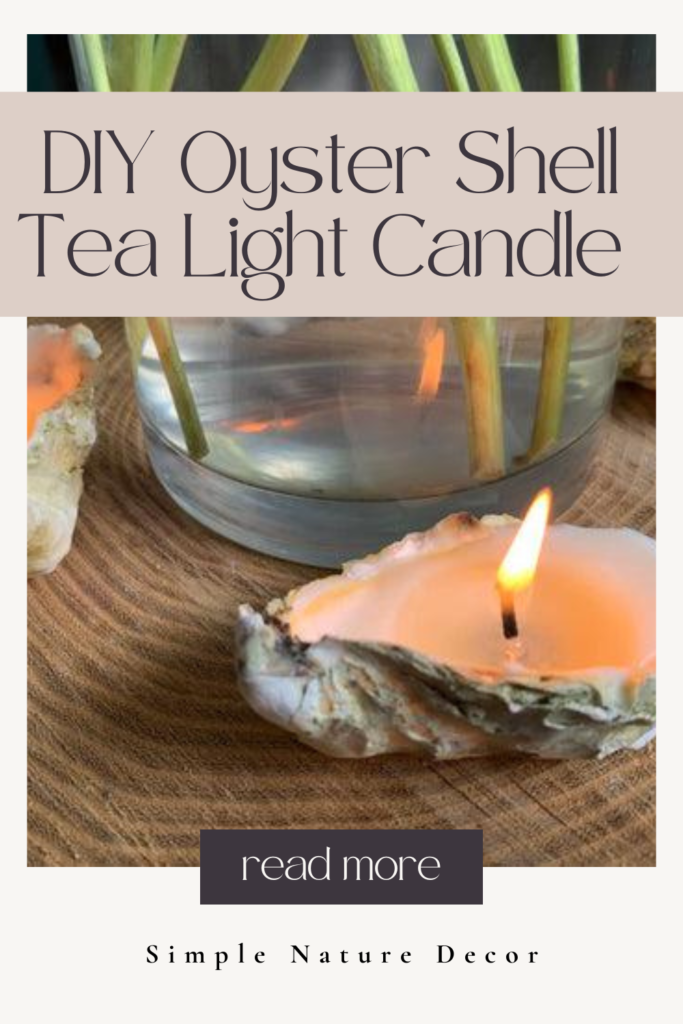
How to Make an Oyster Shell Tea Light Candle
Last Updated on May 4, 2026 by Maria Brittis
How To Create A Oyster Shell Tea Light Candle that makes a perfect centerpiece
How to Make an Oyster Shell Tea Light Candle
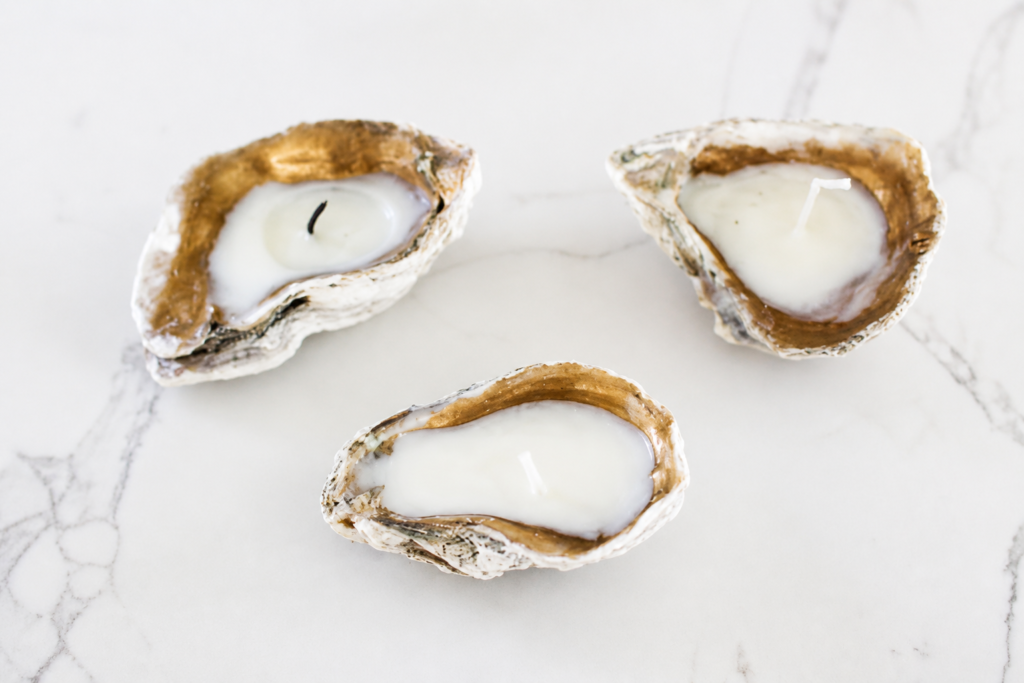
How to Make an Oyster Shell Tea Light Candle is a tutorial that is easy to make. I love using candles at my parties and many of you know that follow my blog I love using oyster shells for many of my coastal home decor projects. This year my son is getting married and I am in charge of the rehearsal dinner. I have decided to use an oyster shell tea light candle as part of the beach table centerpieces. I am going for a beach theme. I will need about 25 oyster shell candles. That means I need a few weeks to prepare.

How to Make an Oyster Shell Tea Light Candle
There are many types of wax to use to make the tea lights. I decided on soy wax. You can buy a kit of soy candle wax and wicks at Amazon along with a centering device. The wax is natural and will burn clean and smooth. There is no worry about the unhealthy chemical that is found in traditional paraffin wax.
When selecting the oysters make sure you select ones that can stand and don’t tilt, otherwise, the wax will drip out of the shell when pouring. Make sure you clean them first. Cleaning post here. You can keep them natural or paint them gold.

Prepare The Wicks.
Cut the wicks to 1 1/2 inch length. Use the centering device to center the wick. This device will hold it firmly in the oyster shell.

Melt the Wax
You will need 1 lb of soy wax which will make about small 25 oyster shell tea lights. Each oyster shell holds 2 tbsp of wax.
The pot you use should be designated for candle making, so don’t pick anything that you use every day. It’s tough to remove wax from the bottom of a pot. Check out flea market for used stainless steel pots. Measure 1 cup at a time into the pot and place it on the burner. The wax will melt in minutes. It only takes 15 minutes for the wax to harden.

Pin This
Similar Posts
Red White & Blue Acrylic Pour On Oyster Shells
Creating a Coastal Tablescape with Oyster shells and Pinecones
How To Make A Oyster Shell Mirror You Will Love
How To Make a Oyster Shell Candle Holder | Simple Nature Decor
Great tutorial and these look so pretty on your table.
Thanks so much, Jenny! I loved making them.
These are lovely and they will be wonderful for a wedding rehearsal dinner. These have been on my to make list for a while – I’ve pinned lots of them. I need to make the time to do them.
Thanks, hope you make some, They are really easy to make a matter of minutes.
Those came out great and I bet they’ll be a huge hit at the rehearsal dinner. Pinned.
Thanks so much, will head over to yours later today.
Those look so chic, Maria. I never thought there could be a device to center the wicks and keep them in place. Pinning for future reference
Yeah, me too, The device is pretty easy to use. Thanks for stopping by.
These are so cool, Maria! I’m inspired to make my own candles after reading your post. They are going to look lovely at the rehearsal dinner.
Crissy, I hope you do they are super easy to make. Have a great week.
Maria, these would go great with my sealife tableware out on the covered porch. Once summer comes to Pittsburgh, I’ll have to give them a try.
Thanks so much Debbie, they are great on the tables for soft lighting.
What a cool way to make candles, especially for a beach theme rehearsal dinner! They turned out lovely!
Thanks so much, my friend. Thanks for connecting.
Such a pretty way to add a special touch to the table! Pinning!
Thanks so much, its been fun creating them.
Very nice! I love your oyster shell tea lights! Best of wishes to your son and his financee!
Love your ability to use oyster shells in so many creative and imaginative ways, Maria! Thanks for sharing on Homestyle Gathering!
That’s such a nice thing to say. Have a blessed weekend.
These are going to be the Wow factor on the tables for your sons rehearsal dinner. I love how easy they are to make.
Thanks so much, they are going to blend well with the beach theme.
These are so lovely. The candles will add sparkle and shine and a little bling.
Thanks Debra, heading over to your tonight,
I have a ton of oyster shells sitting outside waiting for a project. This looks like a great way for me to create something functional for our home. BTW – did you paint the insides with gold paint?
Erlene, I did paint some gold and left some plain. Glad you like them.
These are very elegant. I love how you staged your pictures to showcase what you created!
Thanks so much! I truly enjoyed this project. Have a wonderful week.
Such an affordable and pretty element to add to your tablescape. Love the touch of gold. Looks beautiful next to your dishes. Appreciate all the tips you provided.
Thanks so much! It was a fun challenge.
Your tea light candles are so chic! They look wonderful with your dishes! I didn’t know about the wick centering tool. Thanks for all the tips for getting the candle centered and balanced on an organic base. -Marci @ Stone Cottage Adventures
Thanks Marci, Glad you like them.
These are such a clever, beautiful project! They look lovely on your tablescape and I am sure that they will add a wonderful touch to the rehearsal dinner!
What a beautiful tablescape for a rehearsal or even a wedding! I love how they turned out.
Emily, glad you like them.
What a wonderful candle DIY. I have been eyeing those in a long time but never felt 100 % the need to recreate them. Your oyster candles on the other hand… I love nature crafts, I love the beach, I love sea food. Excellent combination. I will make sure to pin it to my wedding inspiration board, too, as I think they look fabulous on a set table.
Thanks for connecting and enjoying my candle. Thanks for pinning. I’m happy to hear we have lots in common when it comes to nature.
They’re so pretty with your tablescape! Nice project!
Thanks so much for visiting.