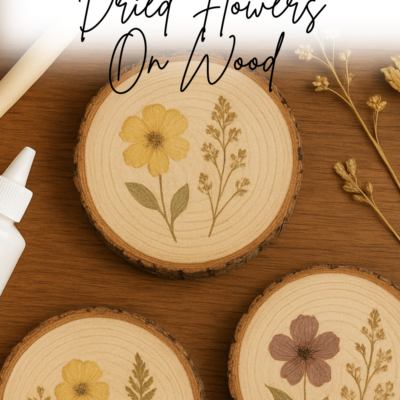
How To Decoupage Dried Flowers On Wood
Last Updated on October 15, 2025 by Maria Brittis
If you love nature inspired crafts, you’ll adore this simple DIY project. In this tutorial, I’ll show you how to decoupage wood slices with dried flowers to create rustic coasters, ornaments, or even wall art. Using just a few supplies like Mod Podge, wood slices, and pressed flowers, you can transform simple pieces of wood into beautiful décor that feels both natural and handmade. Whether you’re crafting for your home or making thoughtful gifts, this easy step-by-step guide will help you create timeless pieces filled with the charm of dried flowers.

How to Decoupage Dried Flowers On Wood
There’s something timeless and beautiful about bringing nature indoors. One of my favorite DIY projects is creating wood slice art using dried flowers. These little natural treasures can be used as coasters, wall décor, or even thoughtful handmade gifts. Today, I’ll show you how to decoupage wood slices with dried flowers an easy craft that combines rustic charm with delicate floral beauty.
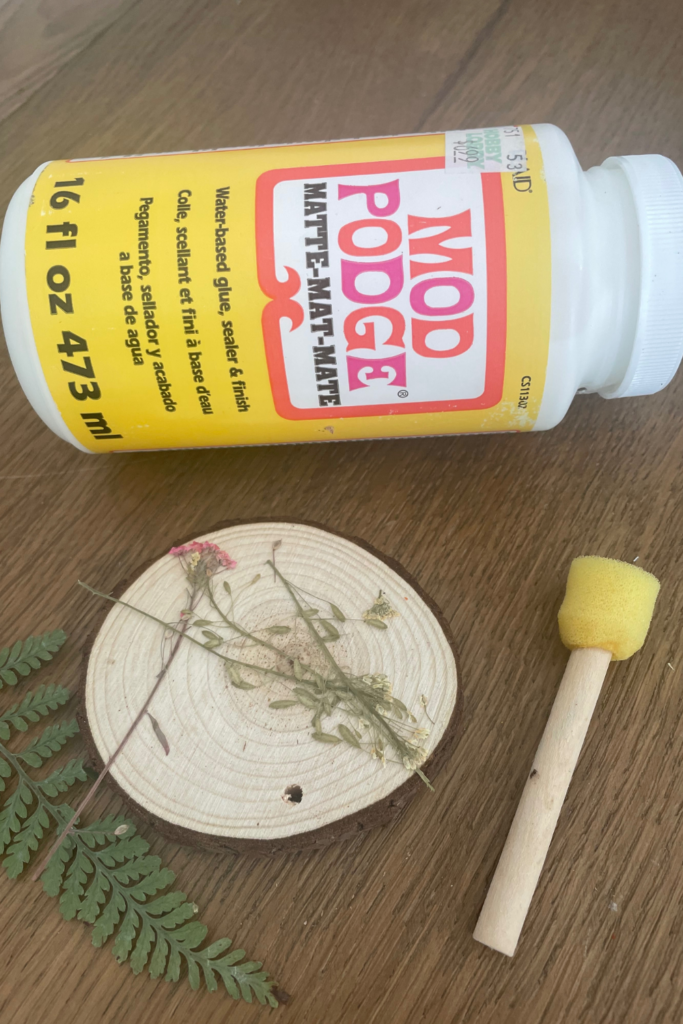
Supplies You’ll Need to Decoupage dried flowers On Wood
- Small to medium wood slices (smooth sanded surface)
- Dried flowers (pressed works best)
- Mod Podge (matte or glossy finish)
- Foam brush or small paintbrush
- Tweezers (to handle delicate petals)
- Clear acrylic spray sealer (optional for extra protection)
Step By Step How To decoupage dried flowers On Wood
Step 1: Prepare Your Wood Slices
Make sure your wood slices are clean and smooth. If needed, lightly sand the surface so it’s free of dust and splinters. Wipe clean with a dry cloth.
Step 2: Arrange Your Flowers
Before adding any glue, lay out your dried flowers on the wood slice to see what design you like best. Play around with different arrangements—sometimes a single flower looks elegant, while a small cluster creates more texture. Some may have to be cut to fit on the slice wood.

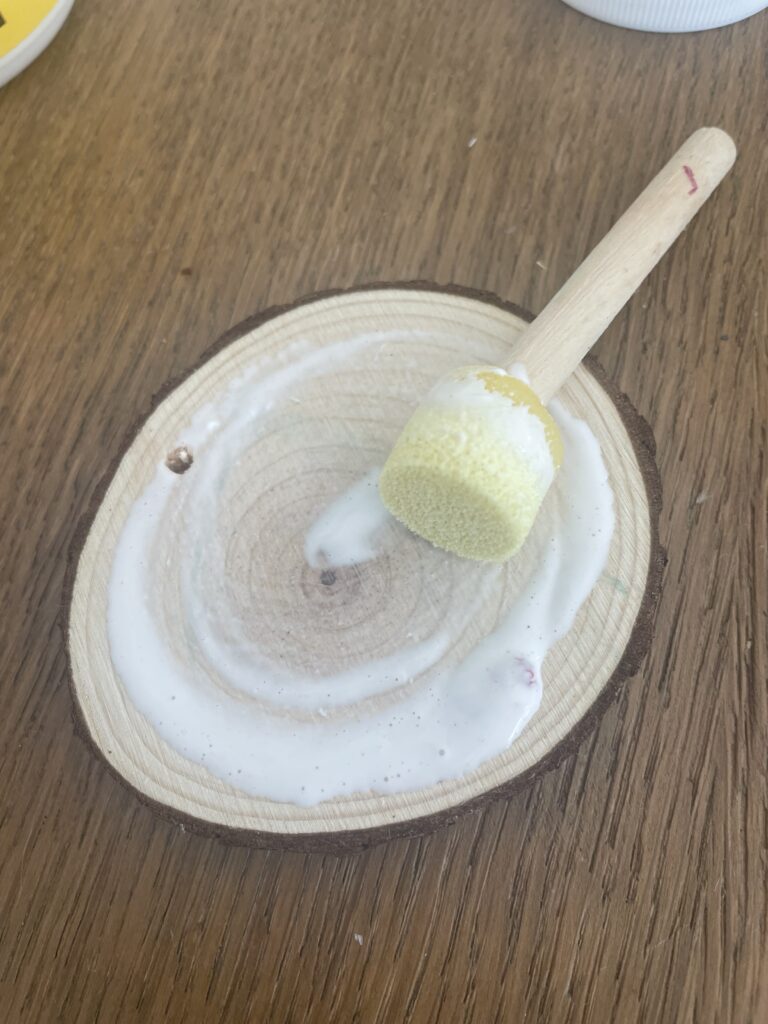
Step 3: Apply the Mod Podge
Using a foam brush, apply a thin layer of Mod Podge to the wood slice. Carefully place your dried flowers onto the glue. Tweezers work great for this step since petals can be very delicate.
Step 4: Seal the Flowers
Once the flowers are in place, gently brush another thin layer of Mod Podge over the top. Don’t worry if it looks cloudy it will dry clear. For best results, let the first coat dry and then apply a second coat for extra durability.
Step 5: Optional Finishing Touch
If you’d like your wood slices to be water-resistant (especially if you plan to use them as coasters), spray a clear acrylic sealer over the finished surface once the Mod Podge has fully dried. This adds an extra layer of protection and a smooth finish.
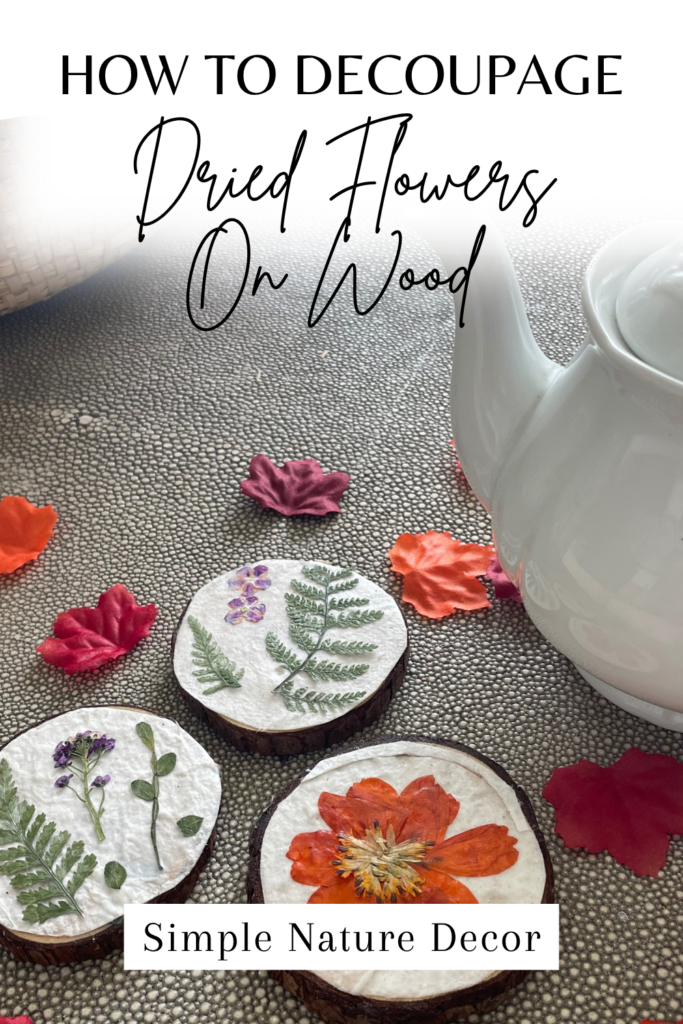
Ways to Use Your Dried Flower Wood Slices
- Rustic coasters for your coffee table
- Wall art displayed in a grouping
- Personalized gift tags for presents
- Nature-inspired ornaments for seasonal décor
Final Thoughts: How To Decoupage Dried Flowers On Wood
Decoupaging with dried flowers is such a simple way to bring nature’s beauty into your home. Each wood slice is unique and tells its own story, making them not just crafts, but little works of art.
So gather a few wood slices, press some flowers, and start creating your own nature inspired décor. You’ll be surprised at how something so simple can look so beautiful
Similar Posts
DIY Wood Slice Photo Ornaments
How To Make A Dried Orange Christmas Tree Decorations
How to Make Pressed Flower Soap
How To Create a Rustic Dried Flower Table Setting
Pin This
Love everything about this project and it looks simple. Great details thanks for bringing your creativity front and center.
Carole
Thanks Carole, you would enjoy making these.
Thanks so much