How To Make Tile Coasters Waterproof
Last Updated on May 2, 2026 by Maria Brittis
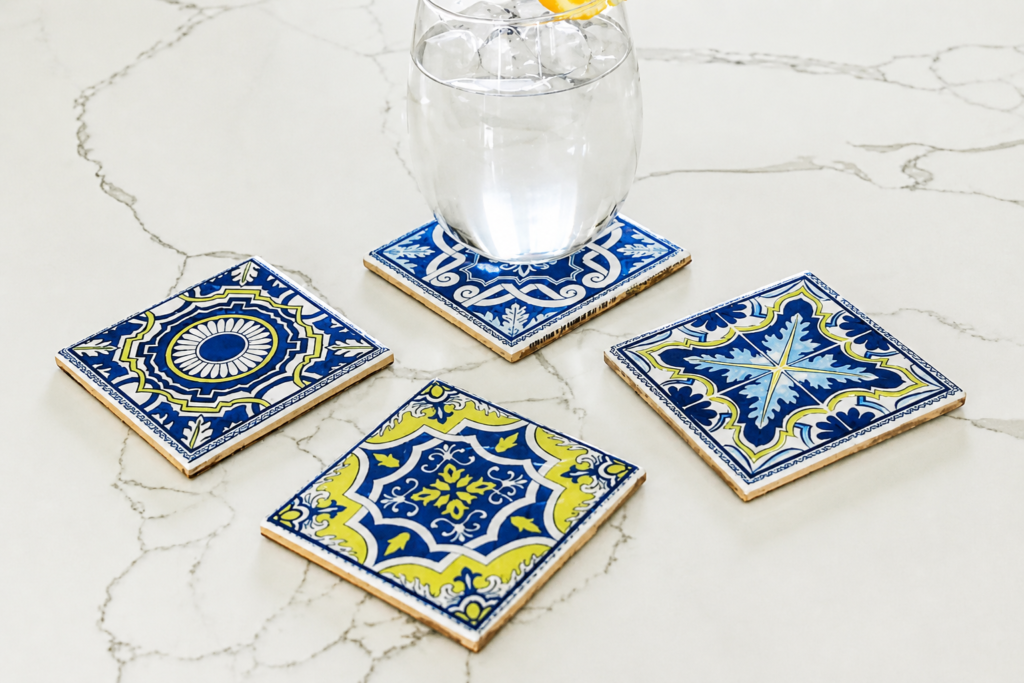
Learn to make tile coaster the right way. Here is a post on how to make tile coasters waterproof using a high gloss finish.
How To Make Tile Coasters Waterproof
Last year I started making coasters for my Etsy store and for gift ideas. I loved how they turned out but a few of them were starting to yellow after a few months. I did some digging and found out that I needed to water proof them. The water proofing will protect them from yellowing. The process involves a high gloss finish that you pour over the tiles and it hardens like glass. It’s very easy process and I know you will love how to make tile coasters waterproof.

When you waterproof the coasters or anything you will need to find a location that is away from anything that you can ruin by dropping the gloss solution on it. I kept visualizing it happening to my new quartz counter tops. I am limited in space and I used a large piece of sheet rock to placed on my kitchen countertops.
Supplies
- Tile
- Gloss finish: (Environmental Technology 16-Ounce Kit Lite Pour-On, High Gloss )
- Printables: Click 1, 2, 3, 4
- Foam brush

How To Make Tile Waterproof
Its important that the tile is free from any dust. The tile measures 4 inch x 4 inch and that is exactly the size of the printable image you will need to cut. I found the perfect Mediterranean image. Take the image and with photo shop have them converted into 4 inch x 4inch design. Download them onto my computer and print out. You can use either hard stock or regulr paper. I used card stock. I used a paper cutter which guarantees a perfect cut with no unevenness.

I used a brush to apply the Mod Podge on the printable. You can also apply the glue on the tile itself. Either way works the same.

Apply the printable on the tile and with a clean sponge smooth out all the air bubbles. Then apply a thin layer of Mod Podge over the tile. Let dry for 15 minutes before applying the gloss.

Mix the gloss solutions in a glass measuring bowl in equal parts. I used 2 pounces of each solution for 6 tiles. Read the directions of the Environmental Technology before starting. With a wooden stick mix well. I poured the solution into a old glass jar and used that to pour over the tile.

Before you start pouring the solution place tape on the bottom of the tile. This will prevent the solution from dripping under the tile. Place the tile on a dixie cup or old jar. Pour the high gloss slowly on the center of tile and let the solution spread to the edges of the tile. Use a piece of cardboard to smooth the sides

Let dry for 24 hours. You can remove the tape. Add the cork bottoms.

I’m super excited the way the tiles turned out. Now I know they will be perfect gift ideas and last a long time.

For More Posts Like This
How to Make Stylish Coasters For Gift Ideas
Pin For Later

I love these and really need to make these as these colors are perfect for me.
I’d be nervous too if I had quartz counters but these are beautiful; what a great solution for yellowing!
I started thinking I be so upset if I got a drop of gloss on them. so that wood really helped me.
What? That looks so easy to replicate! I never thought to print out a design before. I’m thinking I’ll make some seasonal ones for fall and Christmas too!
Thanks lol…they easy peasy to make friend.
I love these!
Thanks so much, have a great week
I’ve had a bottle of lodge lodge sitting around AND some old tiles but haven’t known what to do with either. That’s for the inspiration -:D!
Hope you try it. Thanks for stopping by.
Thanks for sharing, easy to follow tutorial.
Yes it was pretty easy to make, just the pouring of the gloss was tricky.
I love this idea! I already have everything to do this! What a fun project.
Perfect! hope you try it.
What a fun idea for Summer entertaining. I love the gloss look. These are so pretty, Maria.
thanks Megan, I wasn’t sure I like the gloss but now I do.
Wasn’t clear type of paper the design was printed on. Was it regular copy paper, cardstock, printable vinyl, etc?
I used regular copy paper.Thanks so much